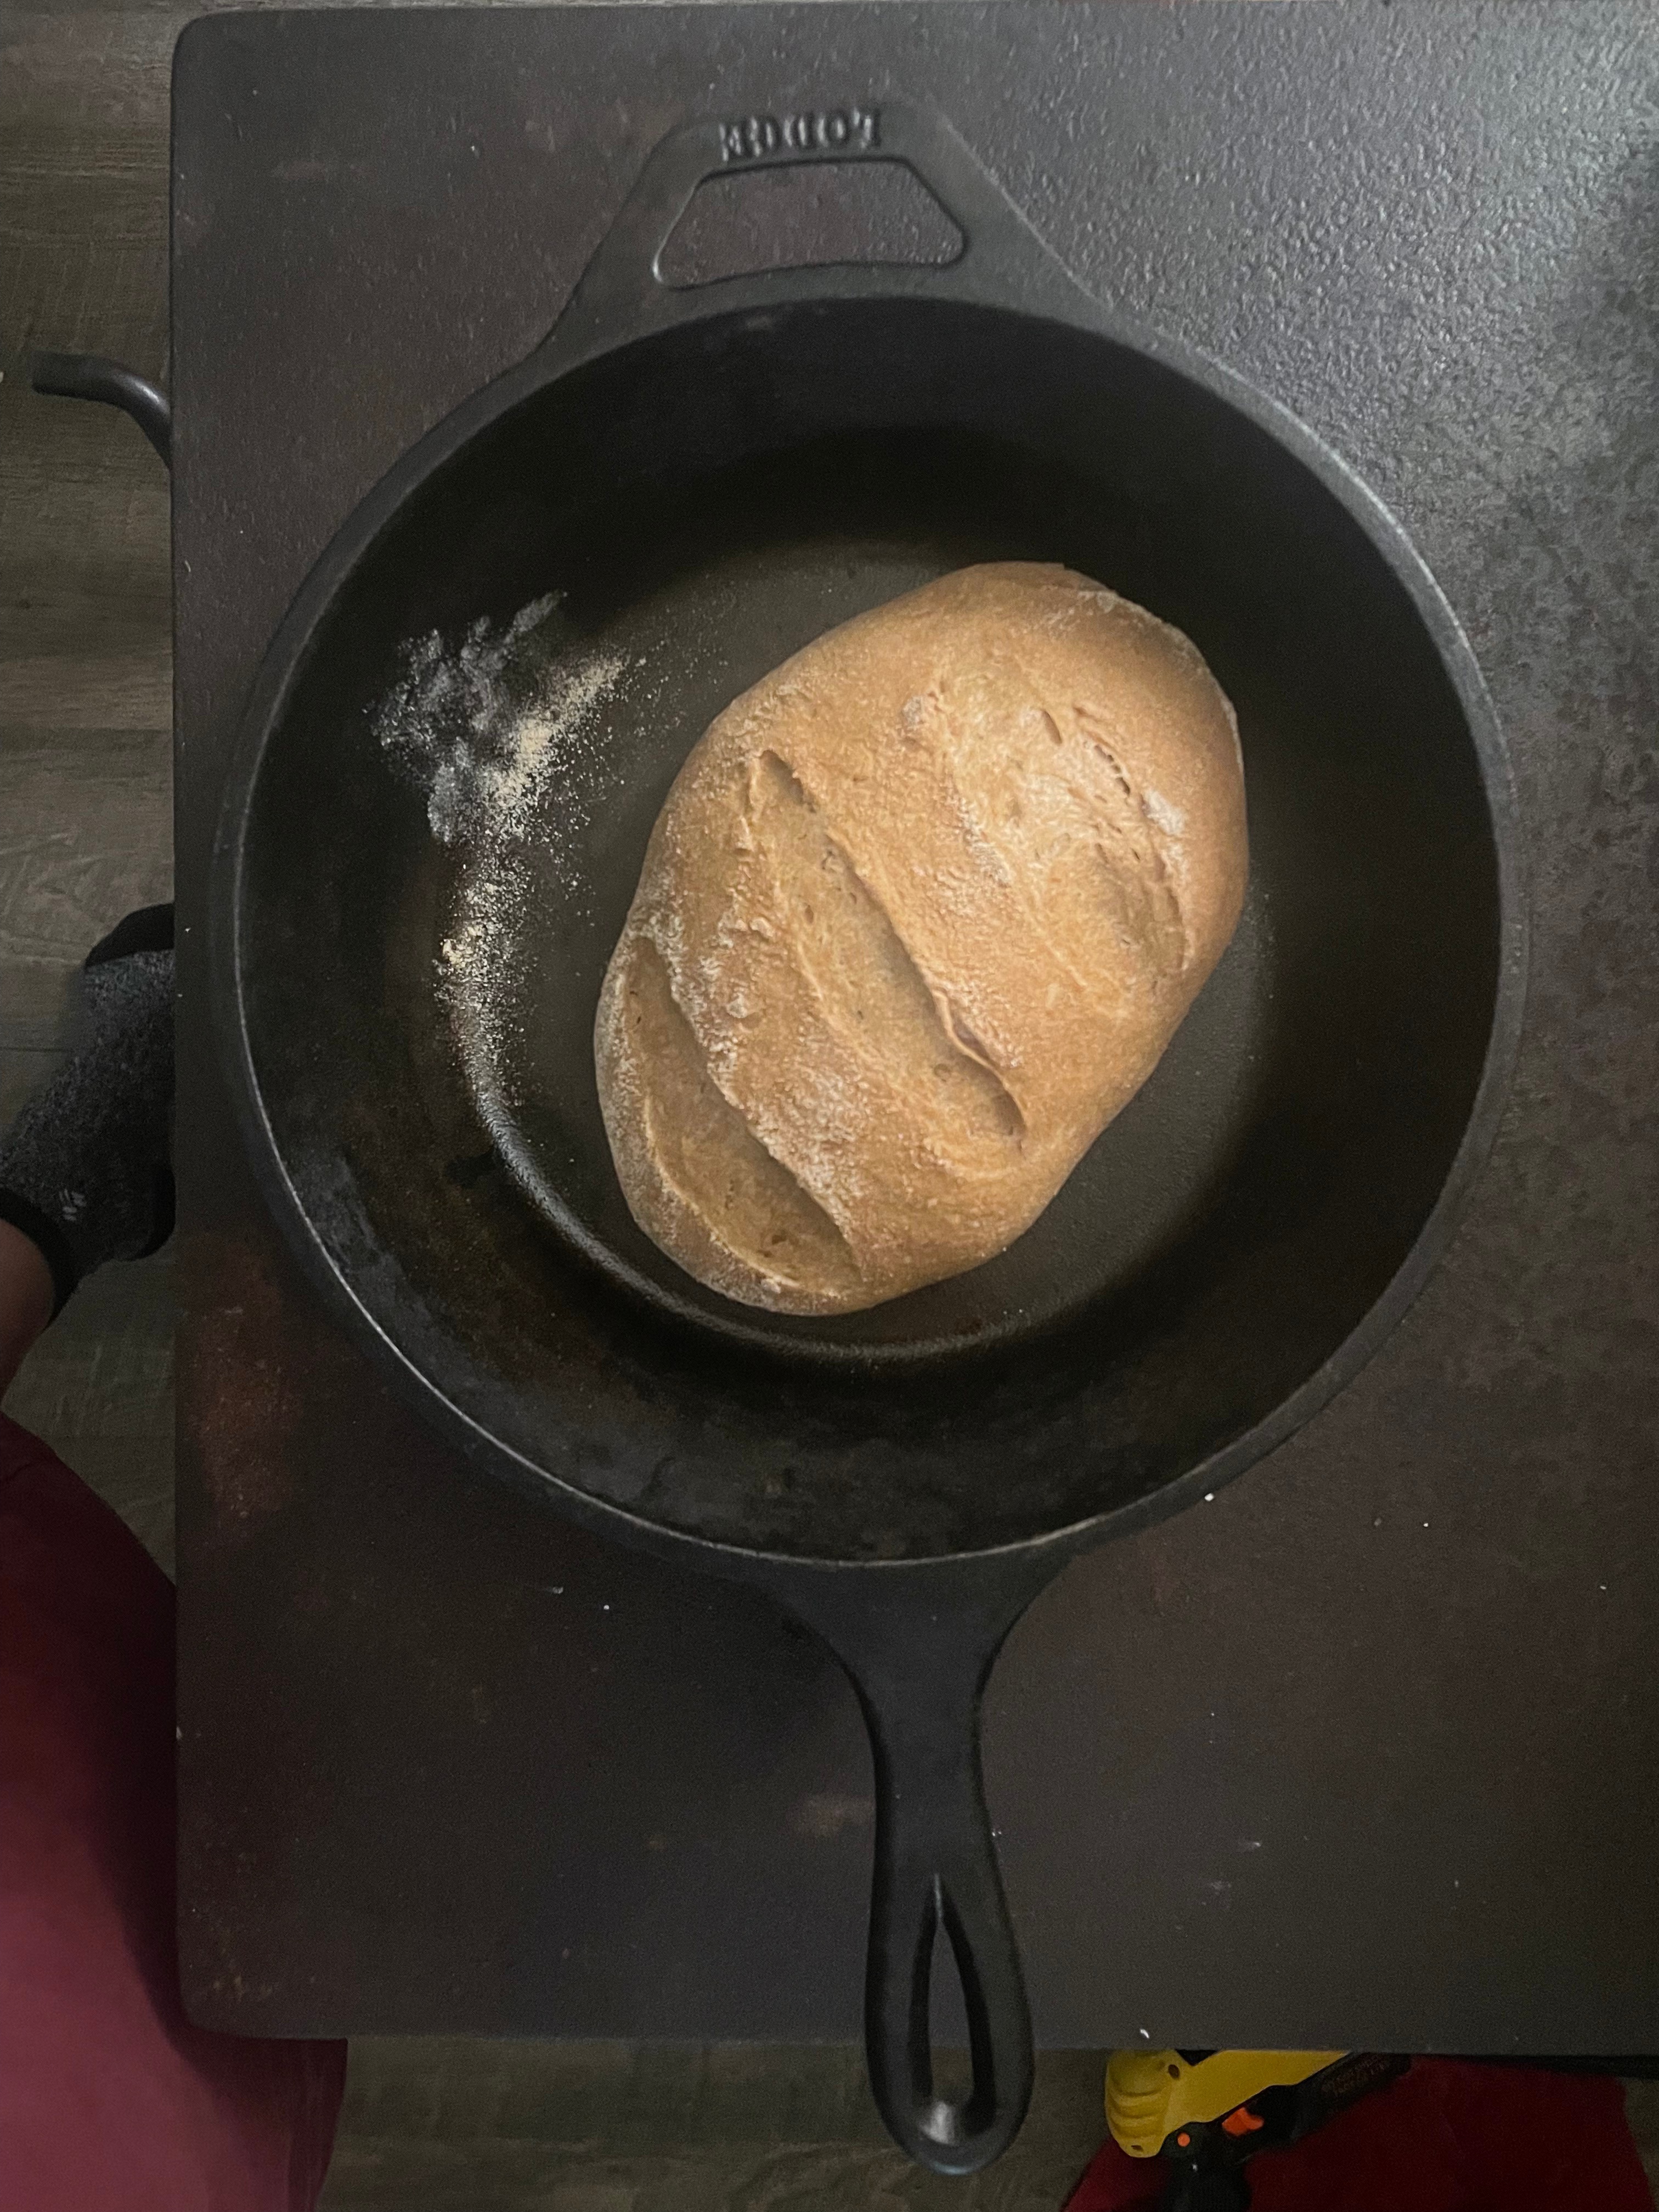
This is our weekly, go-to recipe. We love a plain, all purpose loaf that can be served in any way. This simple, all purpose recipe is is how I learned to bake with sourdough. It makes the best toast in the morning, takes the place of dinner rolls, and is a great snack. No more cheese and crackers. Now it’s cheese and sourdough bread.
While I am an advocate for whole grains and freshly milled flour, having a quick and easy, all purpose flour recipe is still a staple. It is simple enough to remember without reading through the steps each time you bake, and you will have it down and memorized in no time.
This post will go through each step from start to finish including feeding the sourdough starter, rise times, and testing for a thoroughly bakes loaf of bread.
Now to the recipe.
Directions:
Feeding the Starter:
To make the starter active, use what is stored in your jar or take a quarter cup out. Feed the starter. “Feeding” is another way of saying add ingredients to cause it to become active. I use a 1:1:1 ratio of starter, flour, and warm water, though often times I add a little less water. I’m going for a very thick pancake batter or biscuit dough texter.
A note on flour
It is important to note the flour must be unbleached. Bleached flour will kill the starter and there will be no rise. Flour should also be all purpose. Self rising flours contain baking soda which can react with the sourdough and cause it not to ferment or rise properly. I use King Arthur. It is a high quality flour and unbleached is conveniently found in most grocery stores.
Water temperature
The warm water you add to your starter should not be too hot. If it is around 100 degrees or higher, it can kill the starter and yeast, causing your bread not to rise. I do not check the temperature every time. My go to method is to feel the water on my wrist. If it is warm enough for a baby’s touch, it is the right temperature.
After the starter is fed, cover with a tea towel, not a lid. Sourdough draws natural yeasts and good bacteria from the air that make the bread ferment and rise.
Put the starter in a warm place until it becomes active and doubles in size. This usually takes between 6-12 hours. A 65 degree room will be a slow rise, 12+ hours. 72+ degrees will be a quicker rise, 8-10 hours.
Mixing the Dough:
Now that the starter is fluffy and bubbly, pour it into your bowl, add warm water, olive oil, flour, and salt. To keep it simple, I do not worry about mixing the dry ingredients separately, but I do like to mix the wet ingredients first.
Whether by hand or in a stand mixer, knead with your hands or dough hook, and work the dough until the shagginess is gone and it becomes smooth and shiny.
If the dough seems too dry or not stiff enough, wait until you’ve mixed thoroughly and add a little flour or water if needed. You will get a feel for the texture of dough you like.
Ingredients:
- 1/2 cup active sourdough starter
- 1 1/4 cup warm water
- 2 tablespoons olive oil
- 3 cups all purpose flour
- 1 tablespoon salt
Instructions:
Mixing the dough
Using a stand mixer or a large bowl, combine all ingredients, and mix for about 10 min. or until dough becomes smooth and pulls away from the edge of the bowl (hand mixing will take a little longer).
While the dough is mixing, drizzle olive oil in a large bowl and coat the edges. Move the dough to the prepared bowl.
Stretch and fold the dough two to four times in approximately 20 min. increments.
Letting the dough rise
Cover with a wet tea towel to keep dough from drying out on top. Move to a warm area and let rise for 10-20 hours (time varies based on temperature). When the dough is about double in size and bubbly, it will be ready to shape.
Shaping and preparing to bake
First, preheat a Dutch Oven to 425 degrees. A hot pan will help with the rise and keep the bread from sticking. If you don’t have time to pre-heat the Dutch Oven, you can line the pan with parchment paper when placing the dough in to prevent from sticking to the bottom of the pan.
While the oven preheats, lightly dust a flat surface with flour (I use a large wooden chopping board, but a clear counter top works well also).
Using the stretch and fold method, form your dough into a ball. Tuck the edges underneath to form a smooth, round top. Place the dough, with seams on the bottom and pull the dough toward you, tight across the surface to create tension around the “skin” or outside of the loaf. This also helps with oven spring.
Pinch the seams underneath the loaf together. If it’s too dry and the seams won’t hold together, get a little water on your fingers and try again. This will help the dough be more sticky.
Optional second rise
Note: I rarely add this step when making bread for our family, so it is not necessary. It does make a better rise and prettier finished loaf. I will take the extra time to do this if baking for guests or giving as a gift.
In a floured banneton basket (not required) or bowl lined with a dry tea towel sprinkled with flour, place your dough upside down (seam up). Pinch the seams together. Cover with plastic wrap and let it do a second rise in the fridge for 2 to 8 hours.
Ready to bake
When you are ready to put the bread in the oven, score it (make a semi-deep cut in the dough so the outer layer does not bust as it rises in the oven.
Put the loaf into the Dutch Oven and place in a hot oven with the lid on. Bake for 35 min. Take the lid off and bake for 10 more min. The time with the lid off targets the crust, making it crunchy on the outside. You can adjust this time depending on the texture you prefer.
Testing if done in the middle
To test if the dough is completely baked through the middle, turn the loaf up on its side and tap the bottom with a wooden spoon. If it sounds hollow, it is cooked all the way through and the center should not be doughy.
Rest after baking
Place the loaf on a cooling rack and let it rest for 35 min. to 1 hour. If sourdough bread is sliced immediately, it will have a chewy texture once it cools.
Serving
Serve a slice of freshly baked bread with butter and a sprinkle of salt or enjoy with your favorite topping.

Leave a Reply